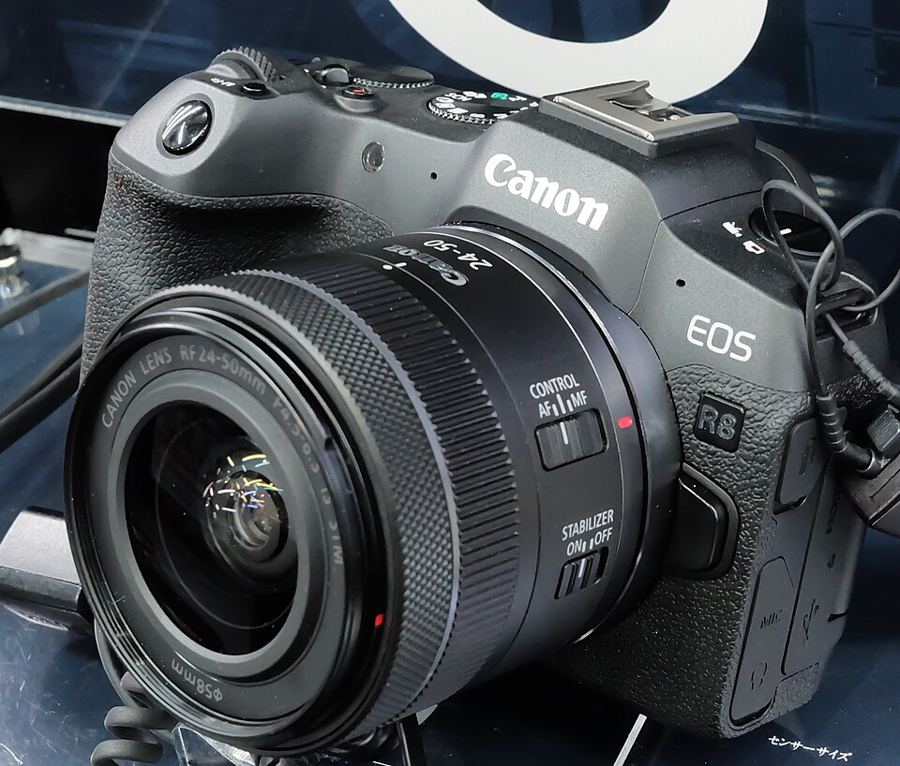
First Setup
What should you change on a brand-new EOS R8 before your first shoot?
Format the card in the camera
Formatting builds the folder structure the camera expects. This body has one slot, so the card goes in and is formatted in place. Shooting 4K video? Tick Low level format: Canon’s own manual calls for it before 4K recording, and it clears every recordable sector.
One slot is a discipline
Bigger Canon bodies write every photo to two cards at once; this one cannot, so reliability is a habit instead of a setting. Use a UHS-II SD card fast enough for your format (Canon’s own requirements ask for V60 for 4K 59.94 with Canon Log), carry a spare card, and offload after every shoot before the card is formatted again.
Shoot RAW — know C-RAW
Set Image quality to RAW for the full file. Canon also offers C-RAW (Compact RAW): the manual states it produces RAW images with smaller file sizes than RAW — Canon’s own approximate sizes are 26.1 MB for RAW and 13.2 MB for C-RAW, the same 6000×4000 pixels at about half the card bill. Default to RAW; reach for C-RAW when card space is the constraint.
Stabilization lives in the lens
This body has no in-body stabilization. For stills, steadying comes from an IS lens: if the lens has an IS switch, the switch rules and the menu item does not even appear; an IS lens without a switch needs IS mode set to On here, or its stabilization never engages. A lens with no IS gives you no stabilization for stills.
Register everything to C1
Canon’s saved setup is a physical dial position — and on this body there are two of them, C1 and C2. Register the setup you just built to C1; after any reset or borrowed-body detour, one turn of the dial restores it. Leave Auto update set. off for now, so experiments in other modes never silently rewrite your C1.
Do the five steps now, in order, then turn the mode dial to C1 and confirm every setting stuck. That dial position is your camera from today on.